You’re staying home and making Andy Beshear happy, and then you get an annoying, unshakeable craving for something sweet and chocolatey all at once – okay, maybe that’s just me.
Why not make some of your favorite treats at home??? Turns out I already had all the ingredients I needed to follow this recipe from One Sweet Appetite! You WILL need a donut pan, if you want that classic donut shape – but you can also make these into cupcakes or cookies if you don’t! Sky’s the limit. Read on for some PROFESSIONAL looking donuts that are really fun and surprisingly easy to make!
Ingredients for the Donut Batter:
- 1 3/4 c. flour
- 2/3 c. semi-sweet or dark cocoa powder
- 1 1/4 c. Brown sugar
- 1/2 tsp. baking powder (*I made this LESS than the amount listed on the recipe – my donuts had a strong baking soda or powder taste)
- 1/2 tsp. baking soda (*I made this LESS than the amount listed on the recipe – my donuts had a strong baking soda or powder taste)
- 1 tsp. salt
- 2 eggs
- 3/4 c. milk
- 1 stick butter
- 2 tsp. vanilla
- (Optional) 1/2 c. mini chocolate chips
Ingredients for Chocolate Glaze:
- 1/2 c. semi-sweet chocolate chips OR 1 block baker’s chocolate
- 2 tbsp.butter
- 2 tsp. corn syrup (I mixed warm water and sugar)
- 2 tsp. water
Other fun things to have:
- Sprinkles!
- Donut pan
- Ziploc freezer bag (for easy transfer of donut to donut pan)
Step 1: Making the donut batter
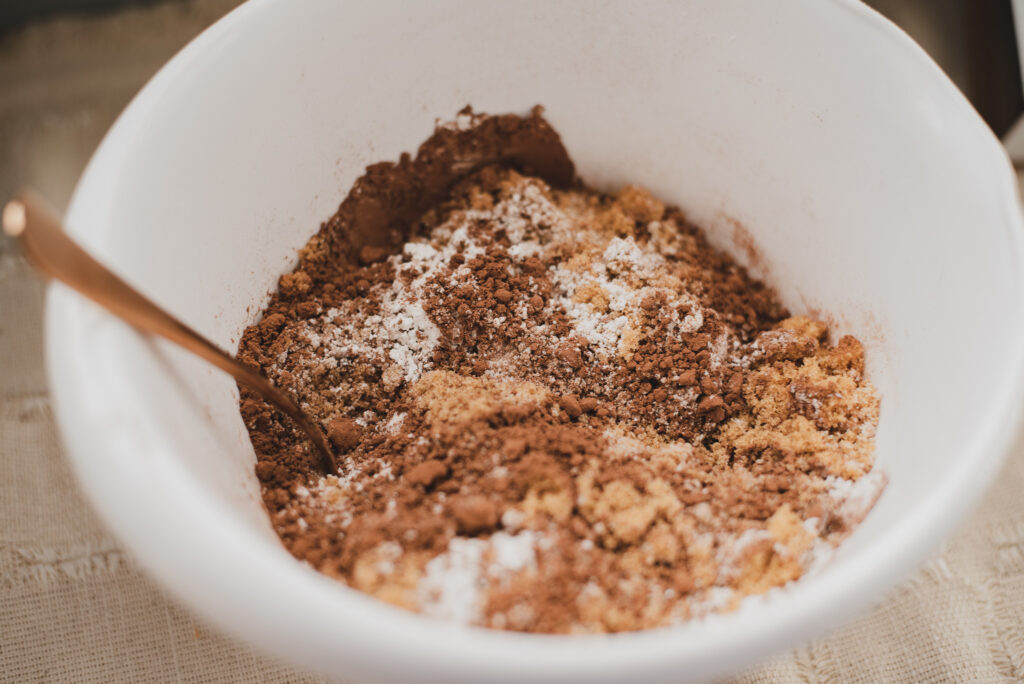
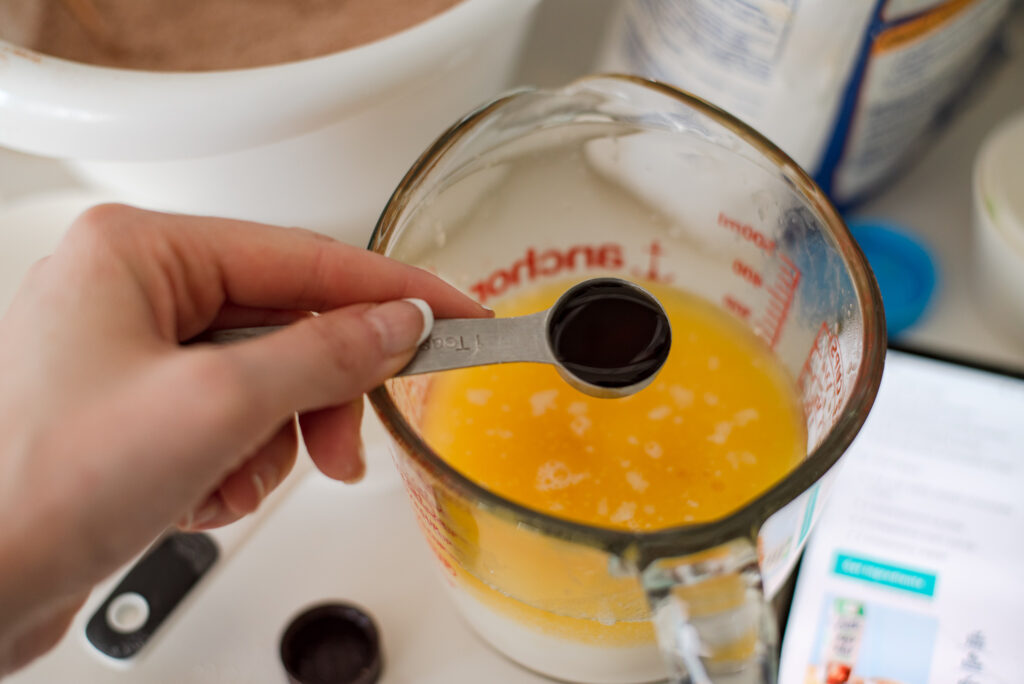
While your oven is preheating to 350, mix the dry ingredients from the donut batter together, and the wet ones separately. Then add wet ingredients to the dry ones and mix until combined. If you want to add chocolate chips, do so now!
(I didn’t add chocolate chips to my batter and thought it was still very chocolatey!)
Step 2: DIY piping bag
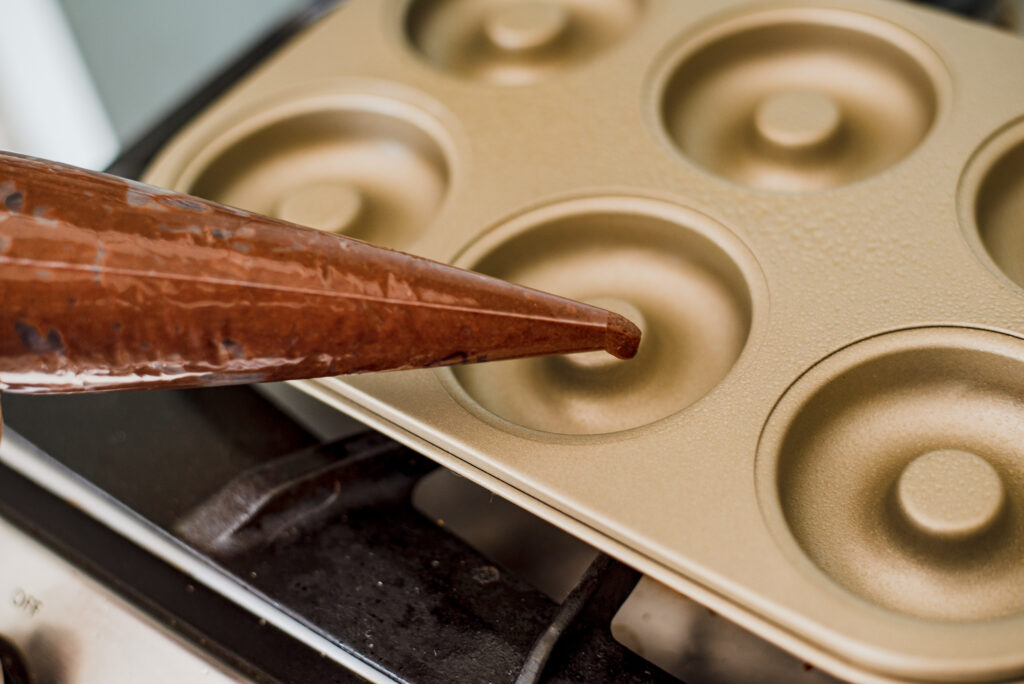
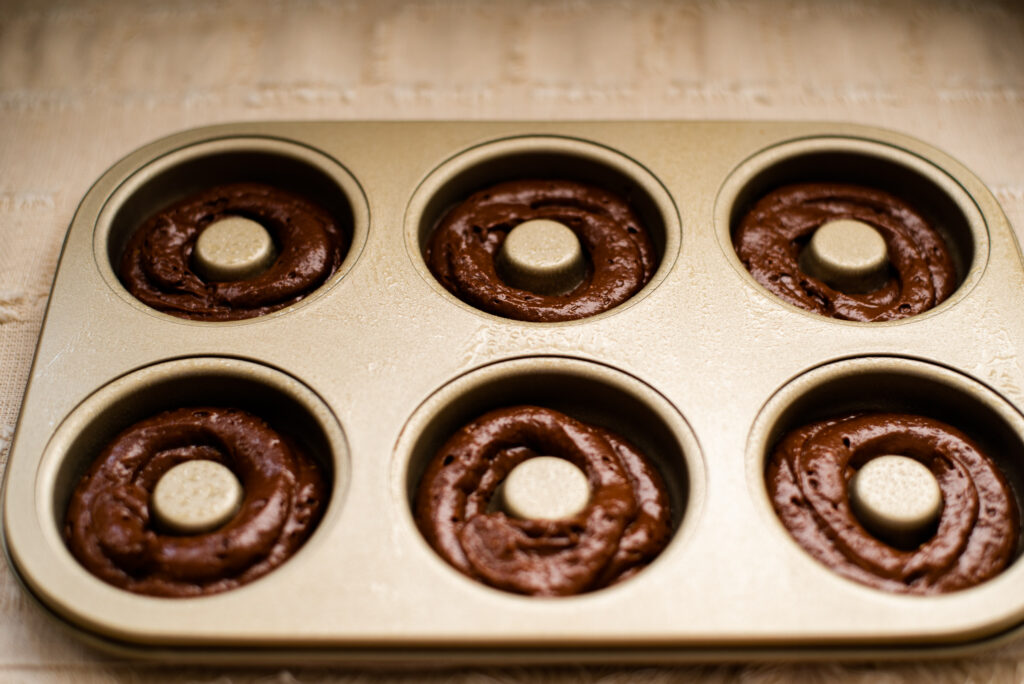
If you’ve got large freezer size Ziploc, place it in a large glass with one of the point sides down and fold the “zip” part of the bag outside the glass. Spoon in the donut batter and seal the bag when you get close to the top (make sure to get out any air), and twist. Grease your donut pan, then cut off one of the bottom corners for your opening, and pipe the donut batter into your donut pan – only fill up about halfway.
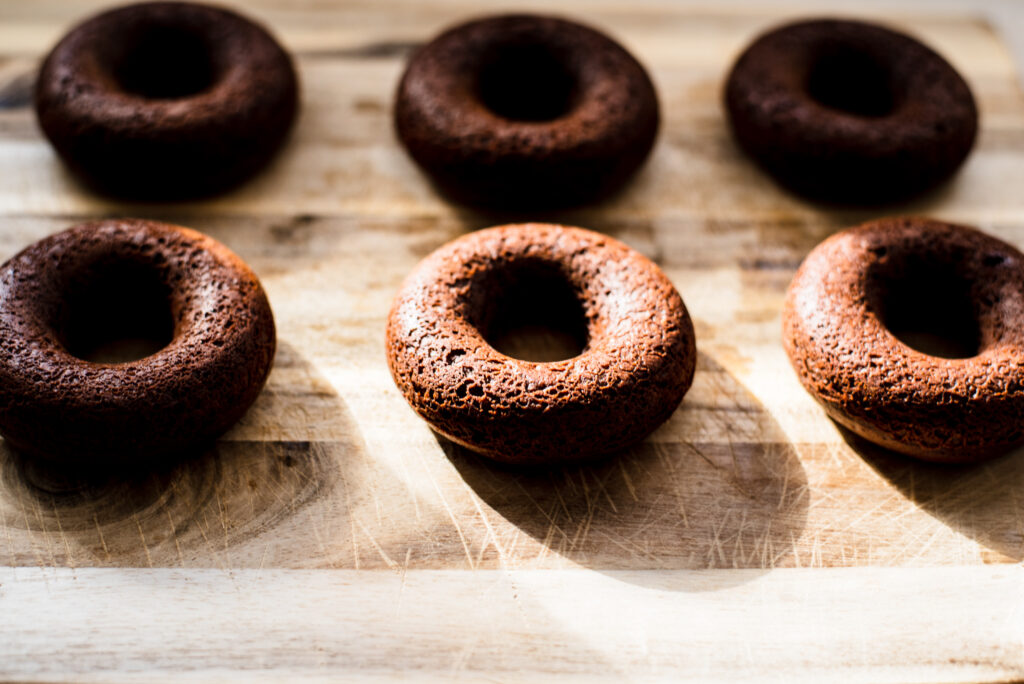
Step 3: Bake for about 10 minutes
Step 4: Making the donut glaze
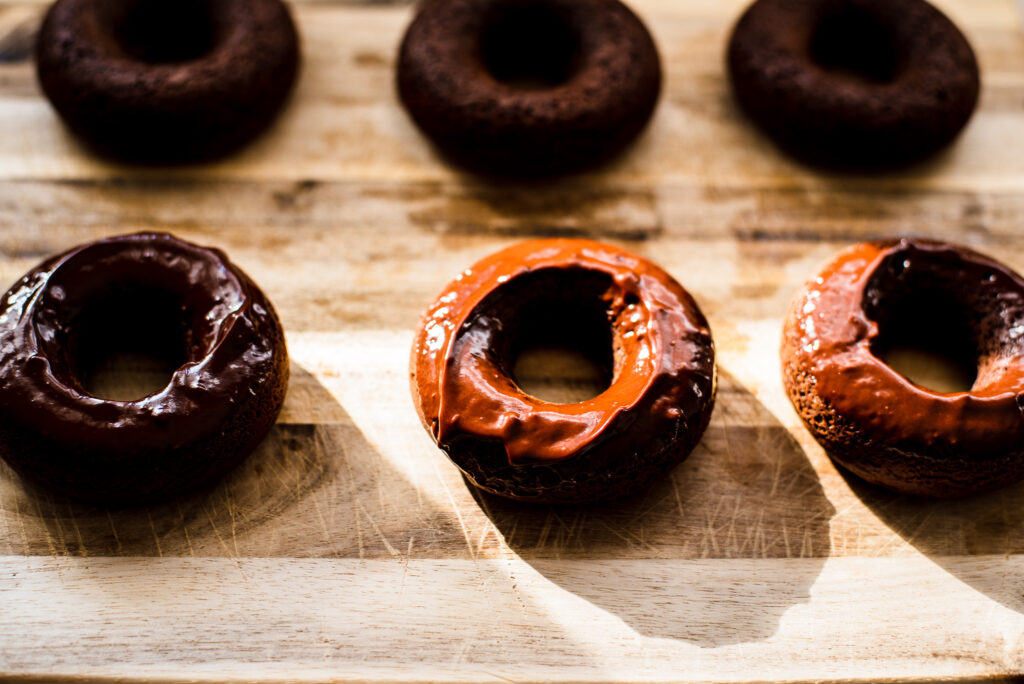
While donuts are baking, make your donut glaze by melting your chocolate (chips), butter, corn syrup (or my sugar/warm water mix) and water in the microwave for 30 second intervals until melted.
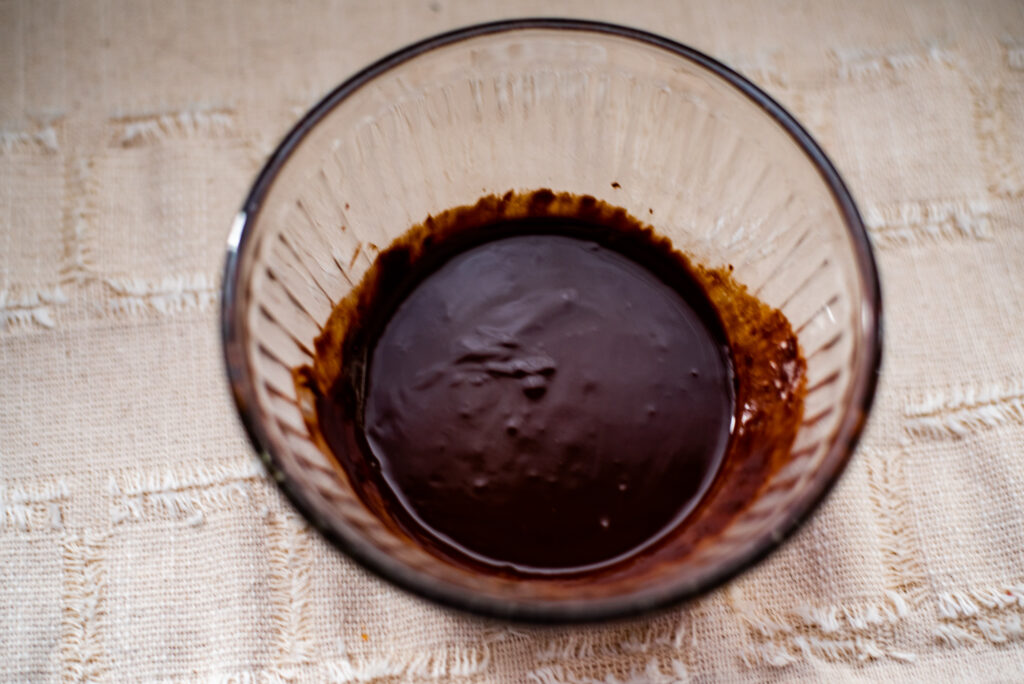
Step 5: Decorating bakery-worthy donuts
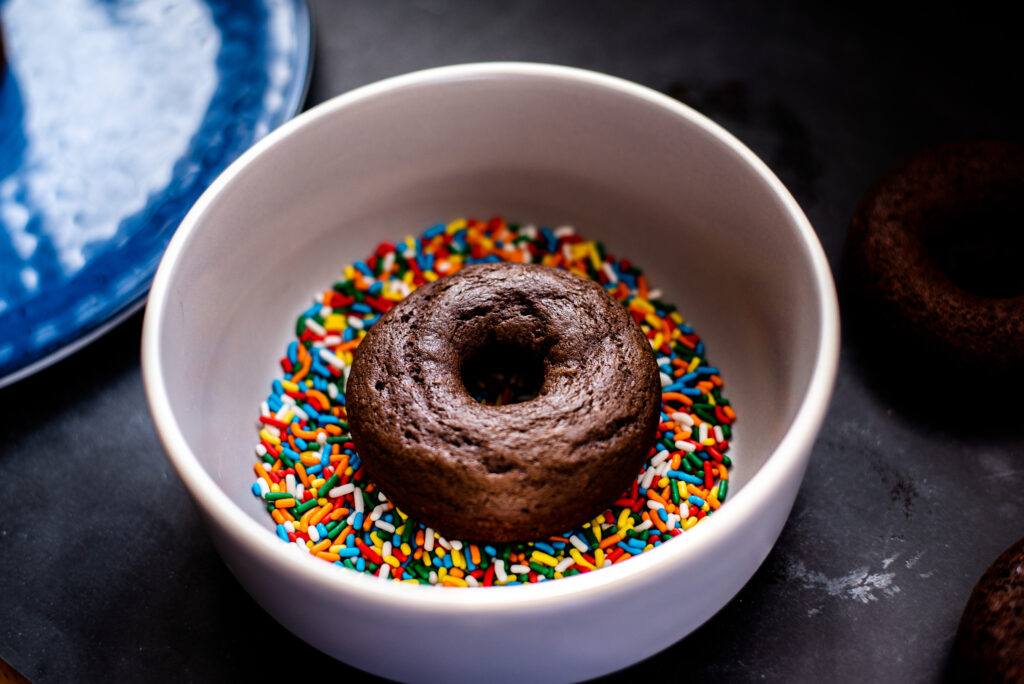
Once I took my donuts out, I put a cutting board that was slightly larger than the donut pan on top of it to flip the donuts out of the pan. When the donuts are cool enough to hold, take a donut and dip the top portion into the glaze bowl. Put sprinkles in a separate plate or a bowl so you can dip the glazed donut into it.
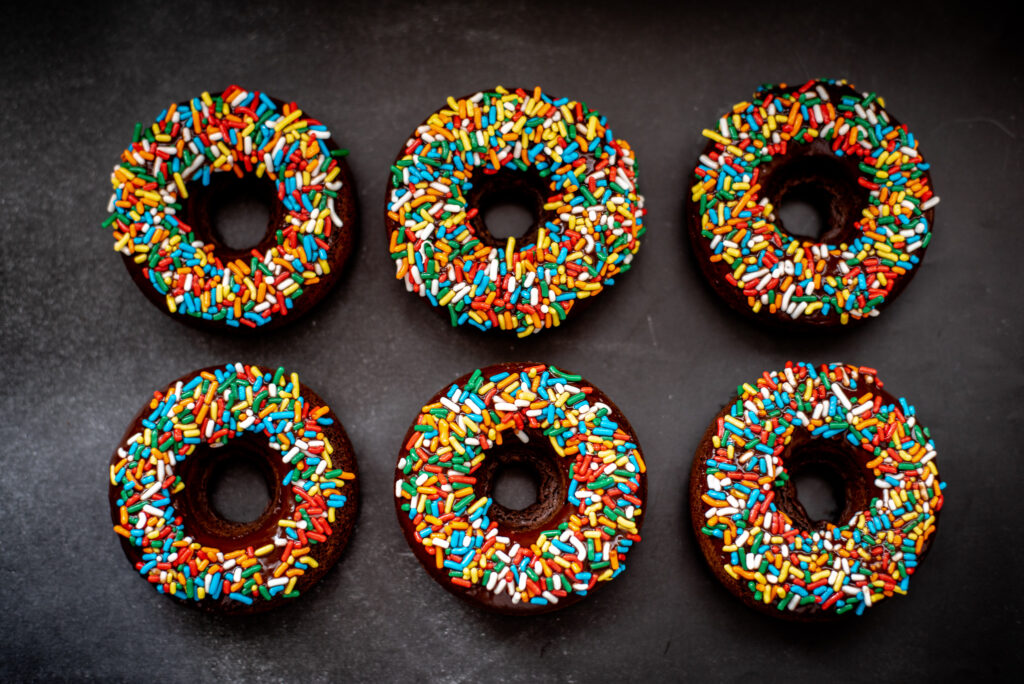
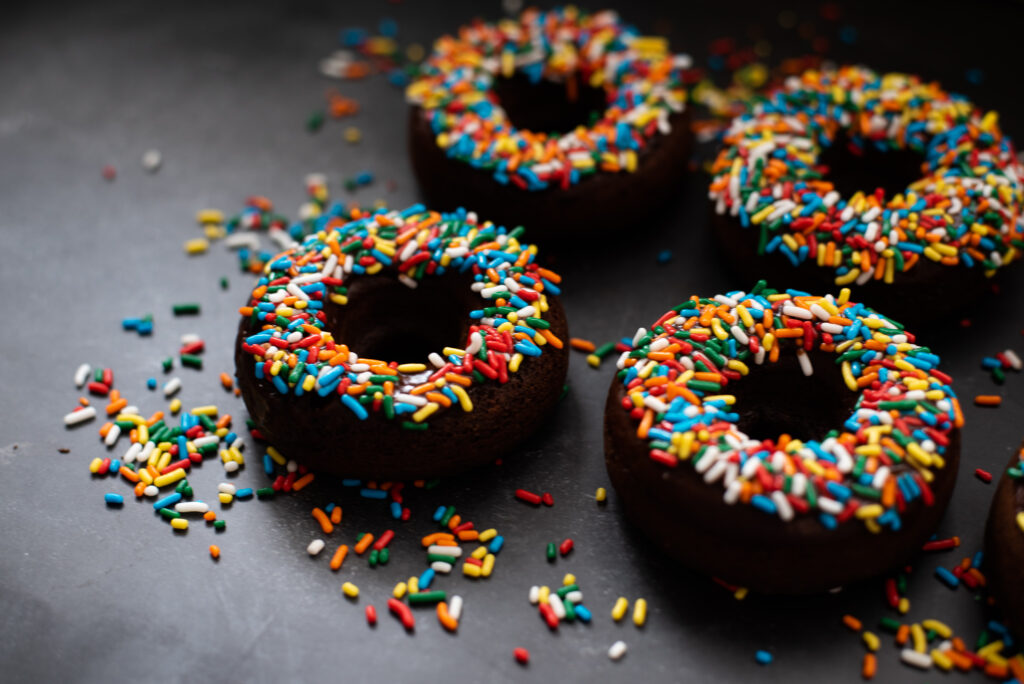
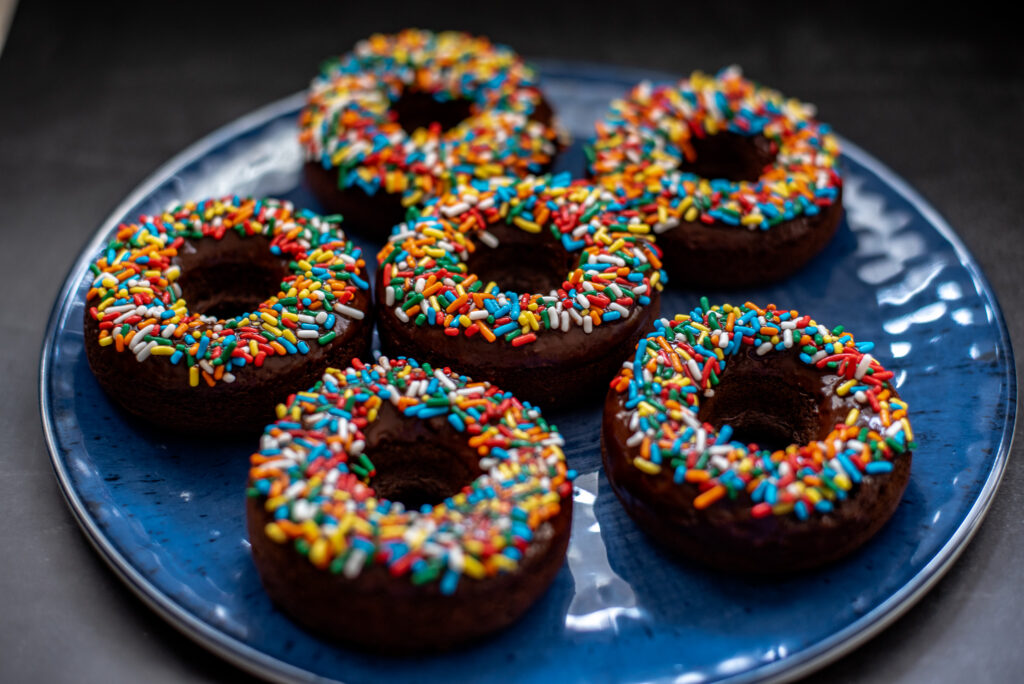
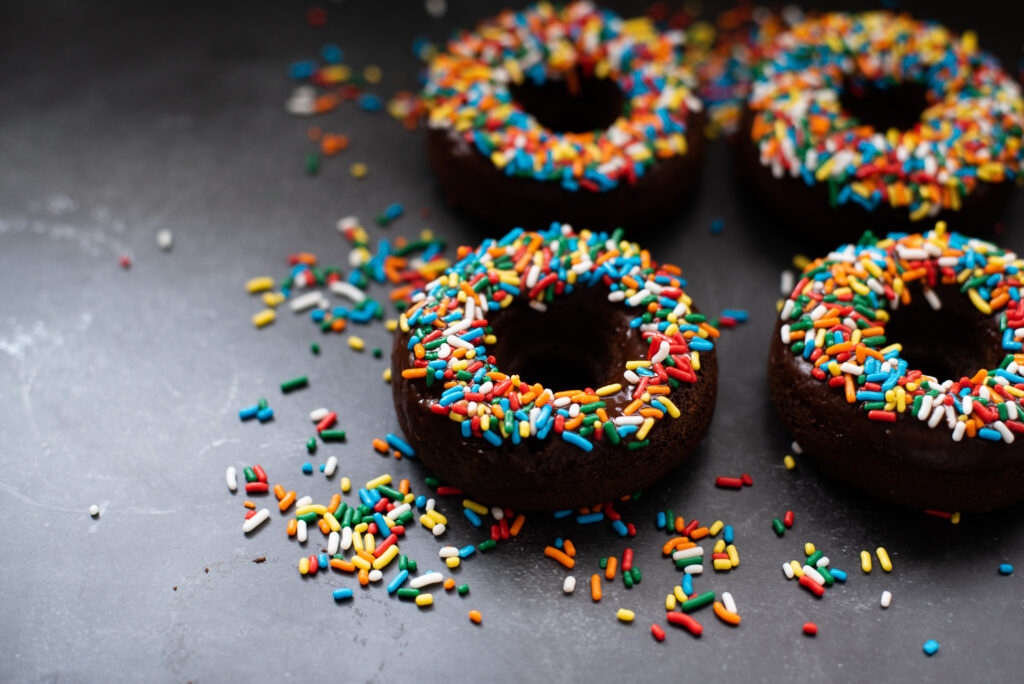
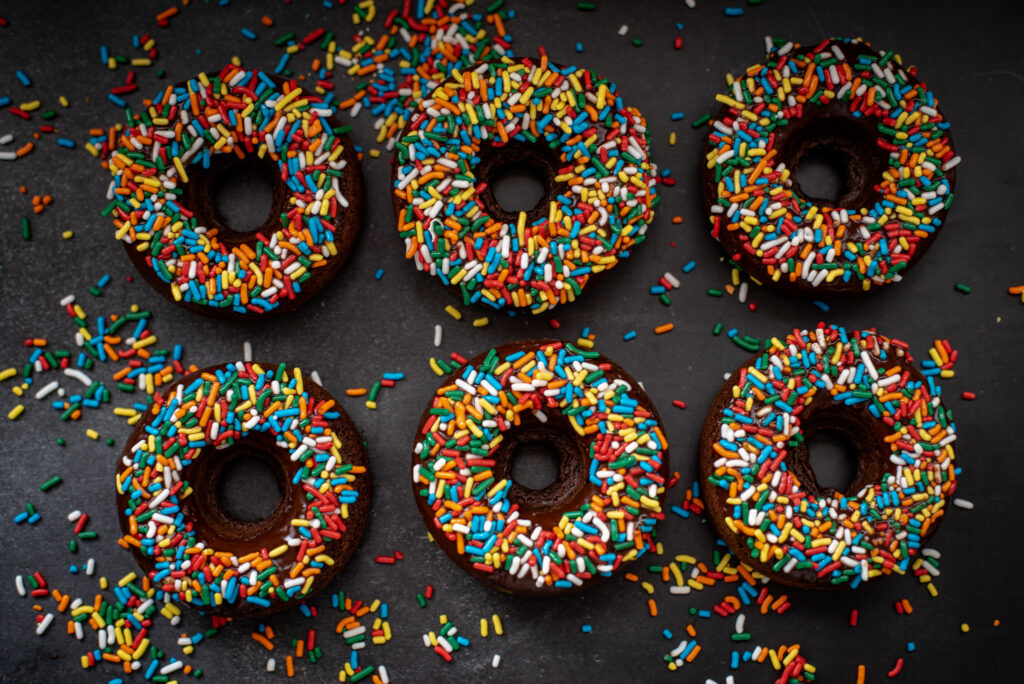
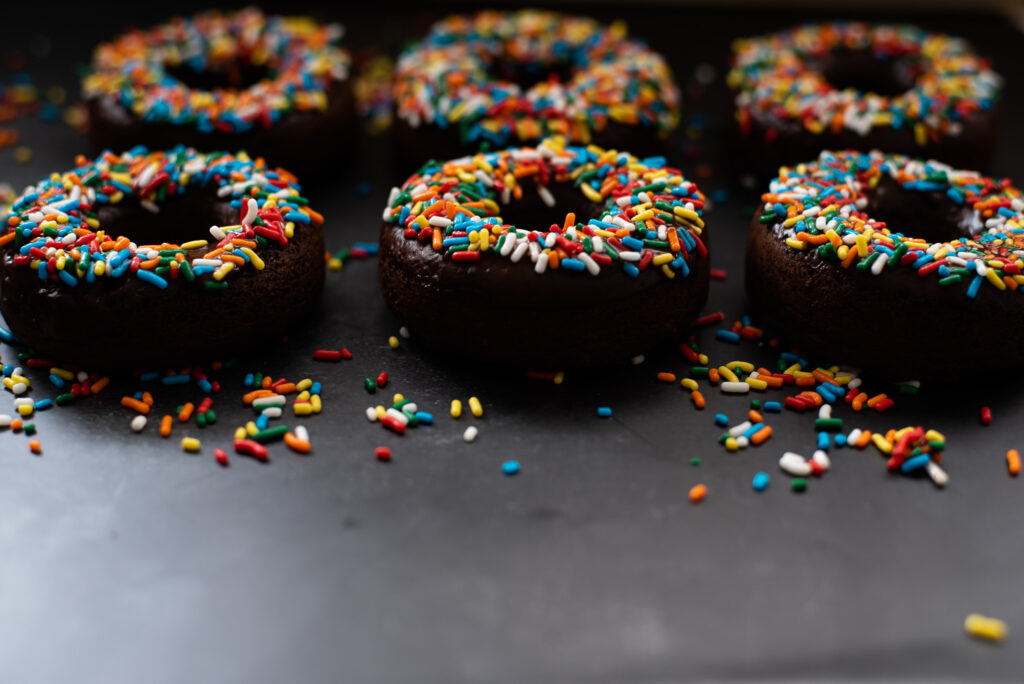
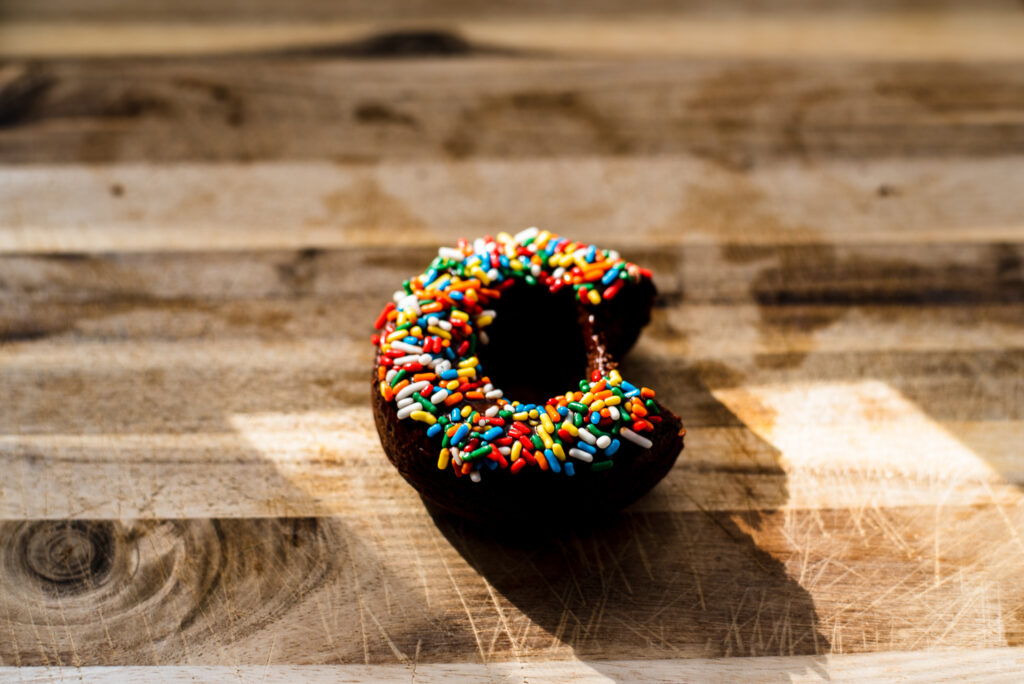
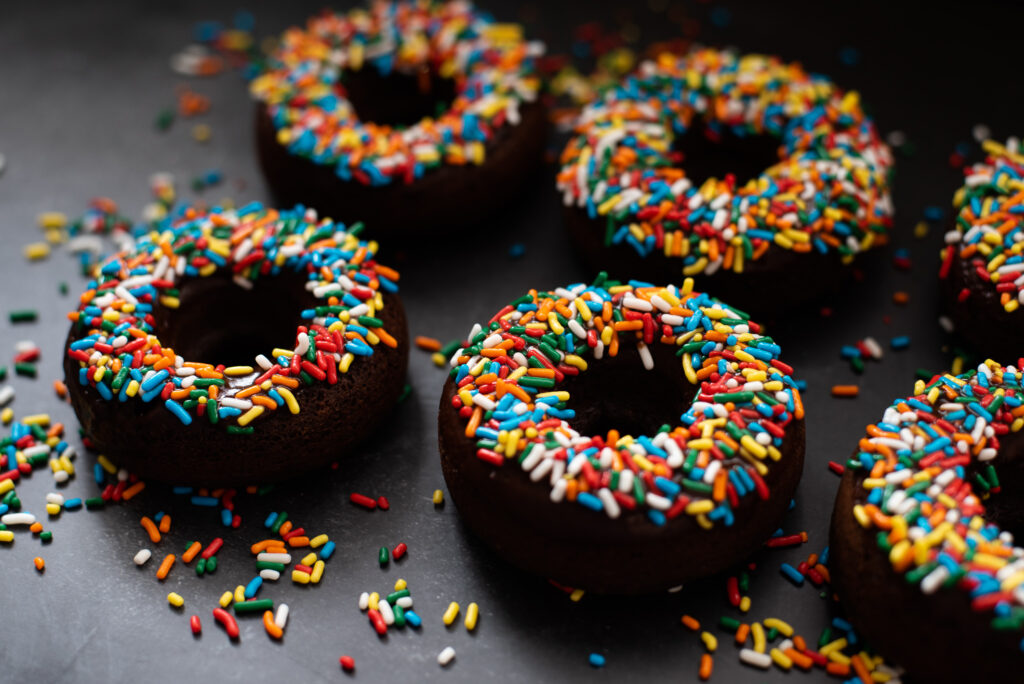
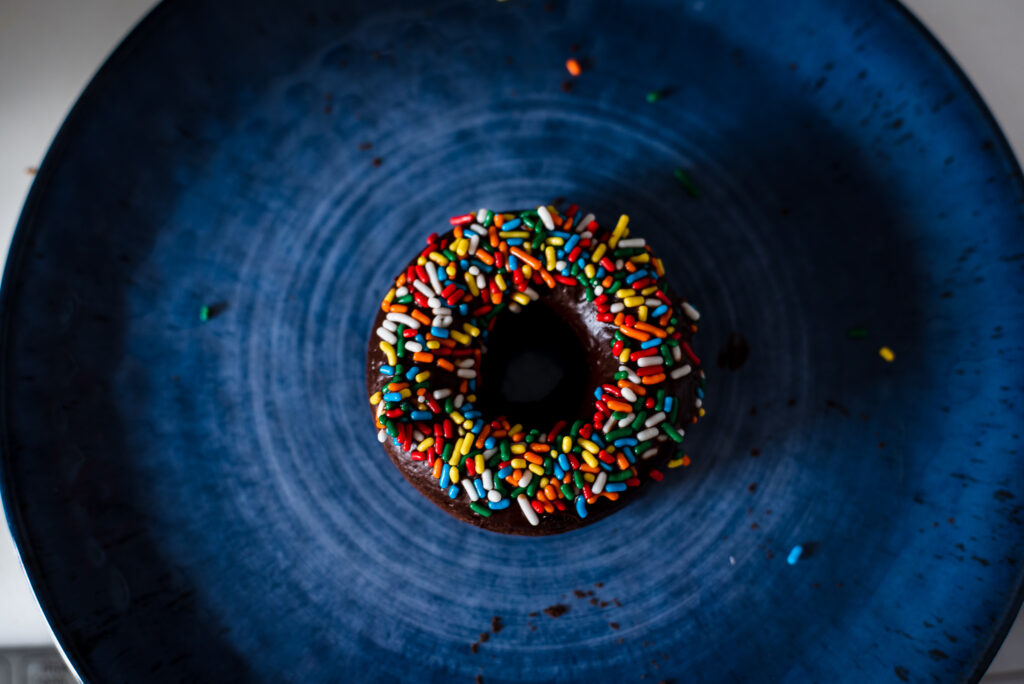
I was SO excited with how pretty and professional these looked on the first try!
If you try this recipe, I’d love for you to tag me on Facebook (@Frames and Letters) or on IG (@framesandlettersphotography) so I can see how awesome your donuts turned out!
I hope you enjoy, stay tuned for next month’s recipe in your inbox, as well as other blog posts from recent photography sessions!
johanna elise

