
Personalizing a graduation cap is a fun project to show your personality and celebrate your accomplishments, and today I’ll share how you can make one AND teach you how to style and photograph your own Graduation Cap Flatlay!
Flatlays are very popular with wedding photography and food photography, but here’s a new idea I hope will catch on! You can watch the video tutorial I made on IGTV, or see pictures with detailed steps below! I’d love to see yours on Instagram @framesandlettersphotography and use the hashtag #flpseniors when you create your own!
Step 1: Make your cute graduation topper
To make a cute graduation topper, you don’t even need the actual cap (some schools technically don’t allow you to wear decorated caps at graduation, so check with your school) but the one we’ll be designing today will be detachable, anyways! You can always super-glue it if you end up wanting to wear it, but I recommend making it separately in case you mess up and want to restart.
Check out this Pinterest board with inspiration for your graduation cap!
What you’ll need:
- Foam board or decorative paper that reflects your style (cut to about 7’’ each side to make a square – if you’ve got a cap, you can use it to trace the shape more easily; you can also measure from your wrist to your elbow)
- Scissors or box cutter to cut out your square
- Letters, markers, or other decorative elements
- Any craft supplies you like!
- Optional tassel
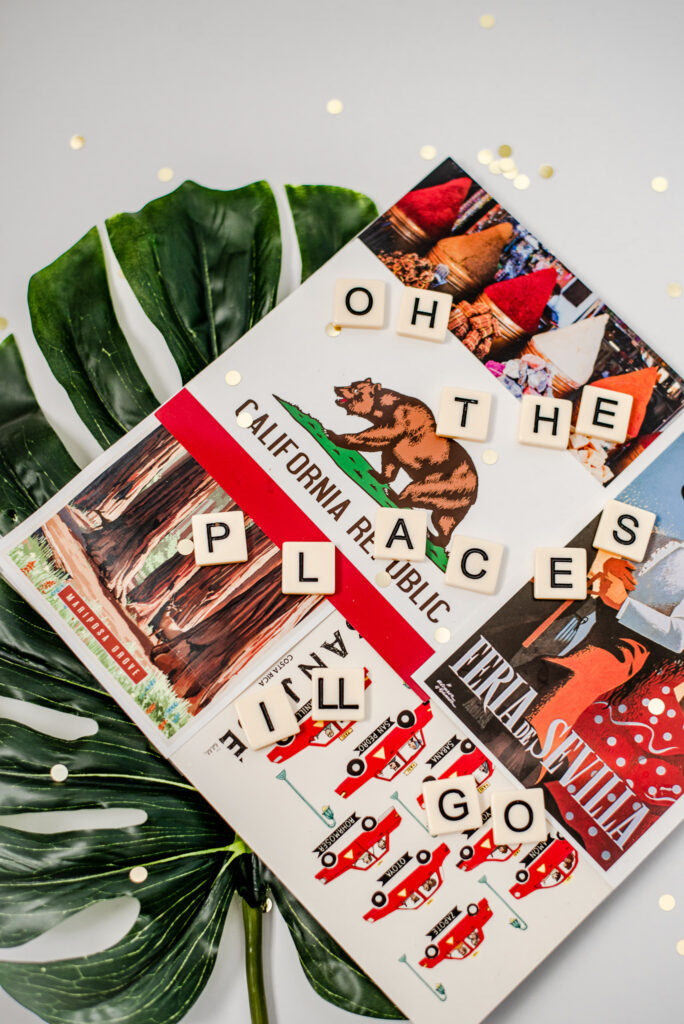
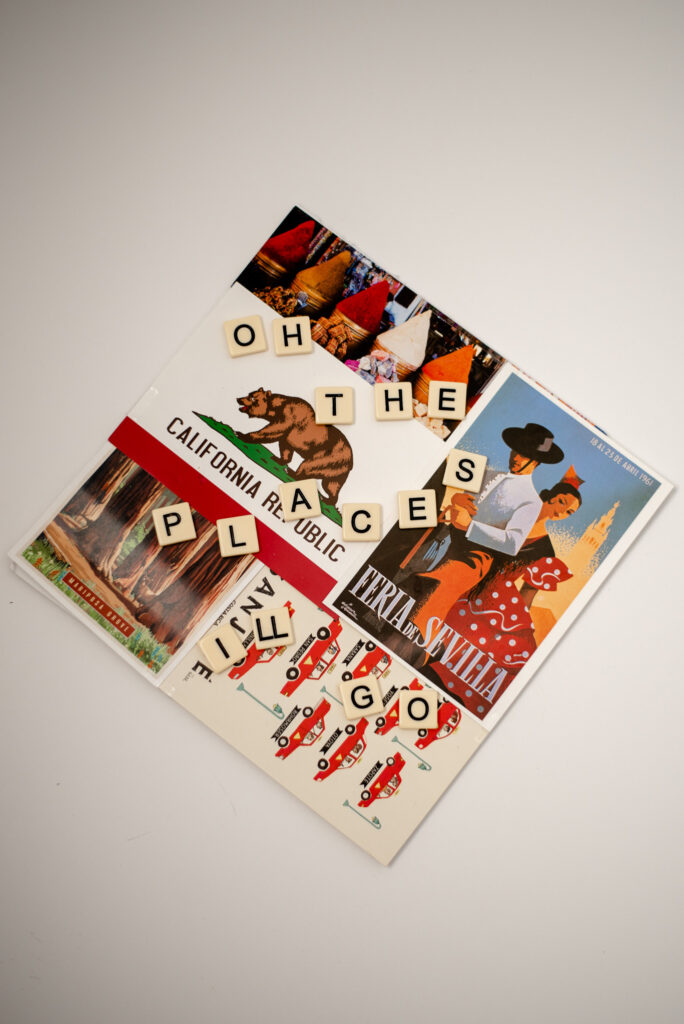
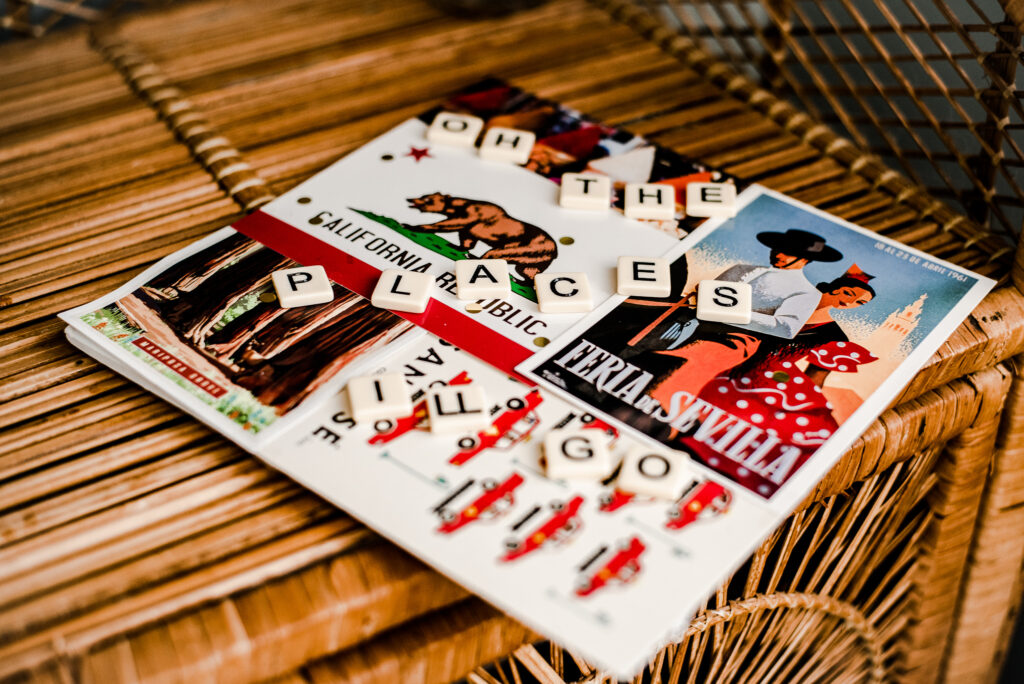
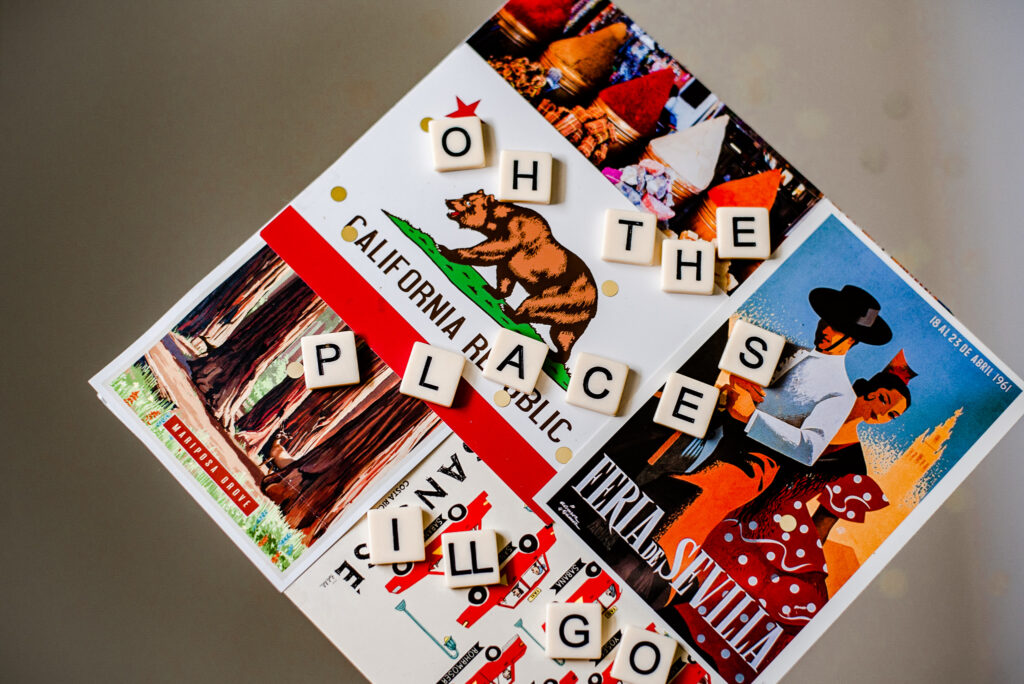
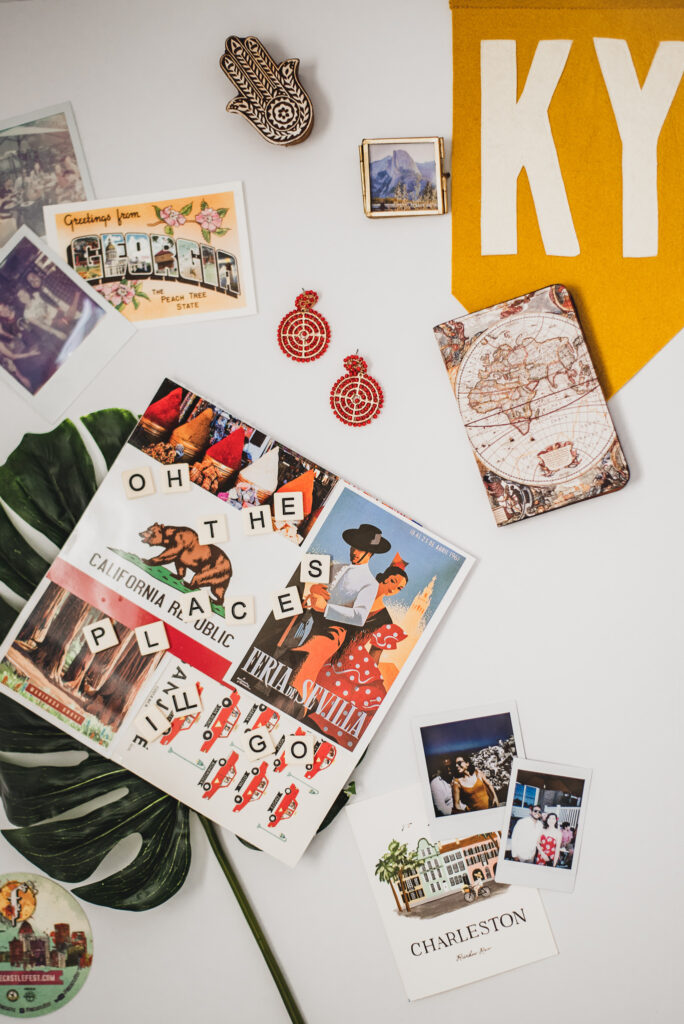
My cap
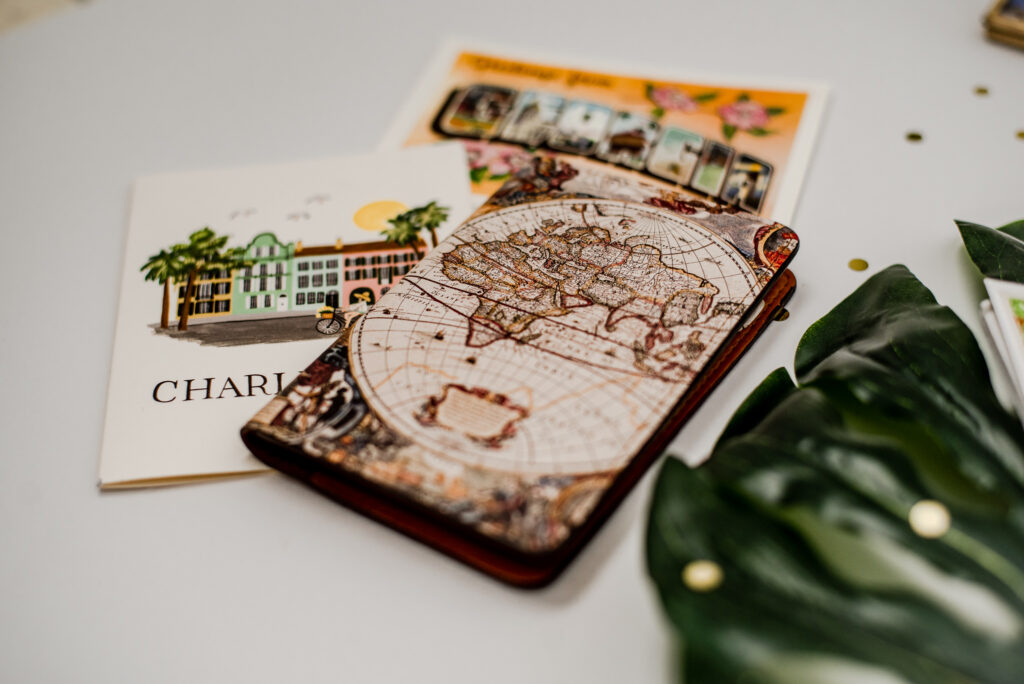
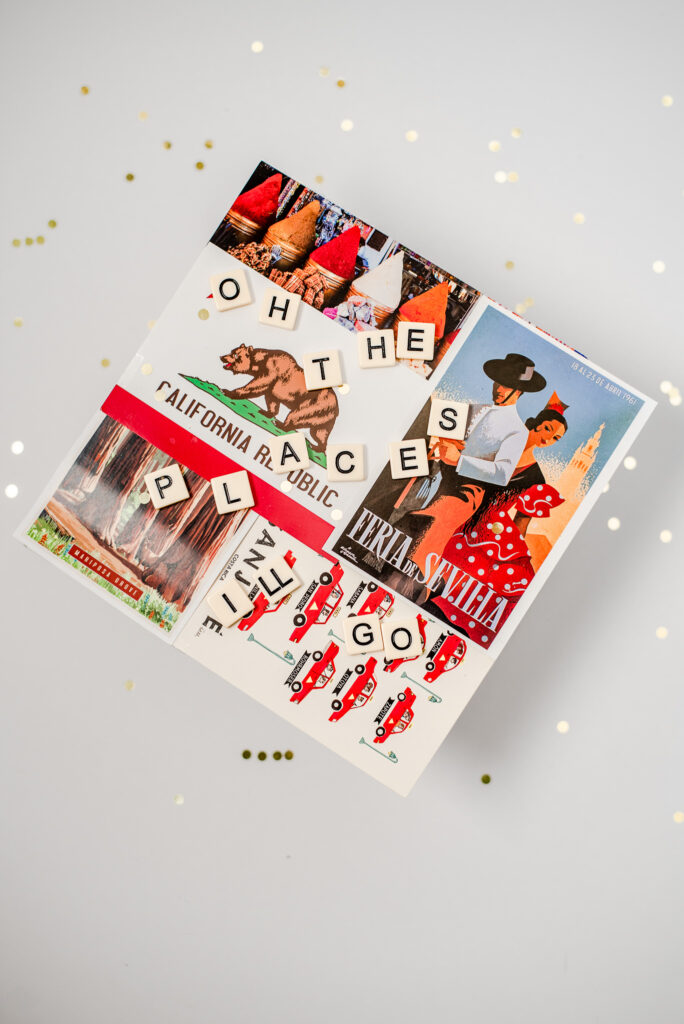
My cap is travel-themed! I always get postcards wherever I go, but I didn’t want to cut them, so I just layered them and taped the edges so they would stay put for the flatlay. If you’re planning to wear yours to graduation, you’ll want to secure everything on your cap with super glue. Next, I used Bananagrams letters to make the quote “Oh the places I’ll go” – scrabble tiles, magnetic word tiles, or foam sticky letters work, and so do markers and paints if you have nice handwriting!
Step 2: find a rectangular background for your flatlay
Since you’ll be doing a flatlay, your graduation cap is going to be on the ground or other flat surface, and the photo will be taken from above. You’ll need a good background surface that looks good with your cap design – if you have a nice wooden floor, cool rug, table, etc., those are great options to start with. But look around your house for more creative ideas – take down a colorful curtain you have, use a long dress, a cool decorative mirror, cork bulletin board, or even an empty picture frame, are other great ideas for flatlay backdrops.
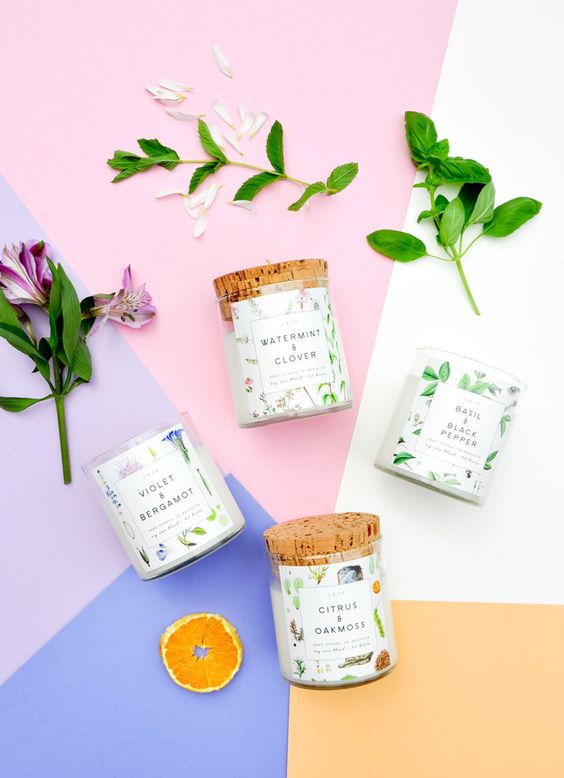
Love this idea from Pinterest with different colored paper as a flatlay backdrop! 
It looks like a dress or sheer scarf was used as a flatlay surface here
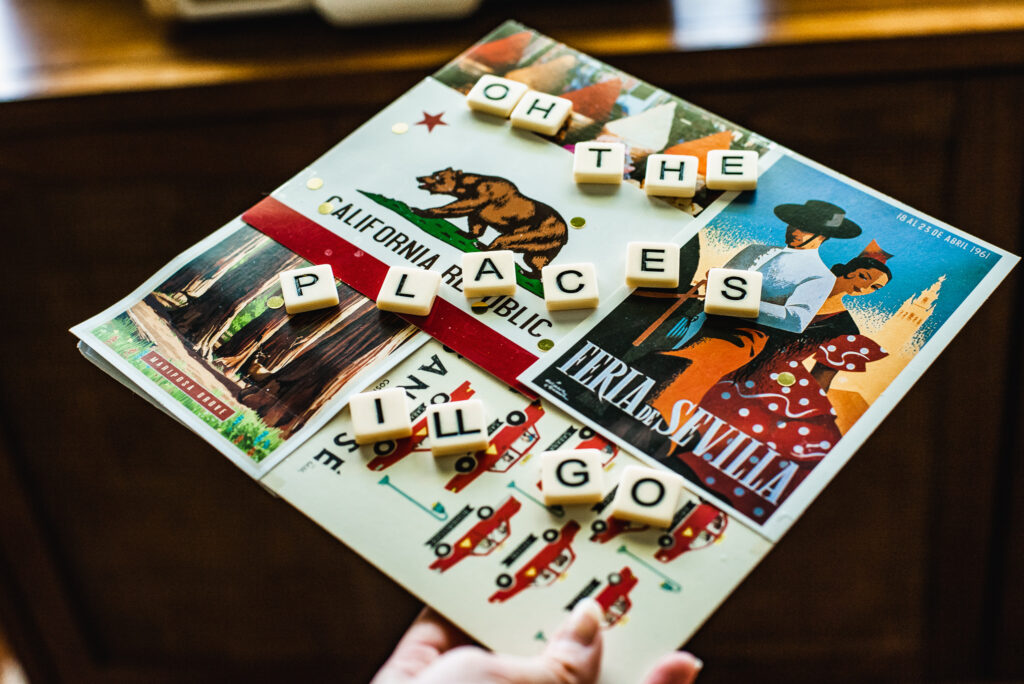
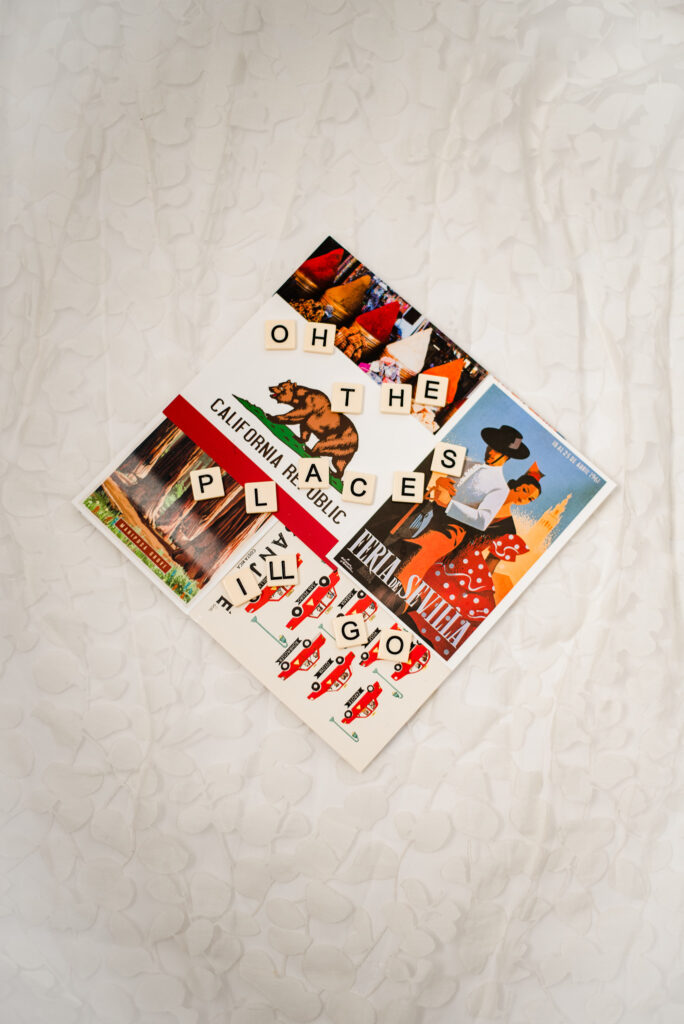
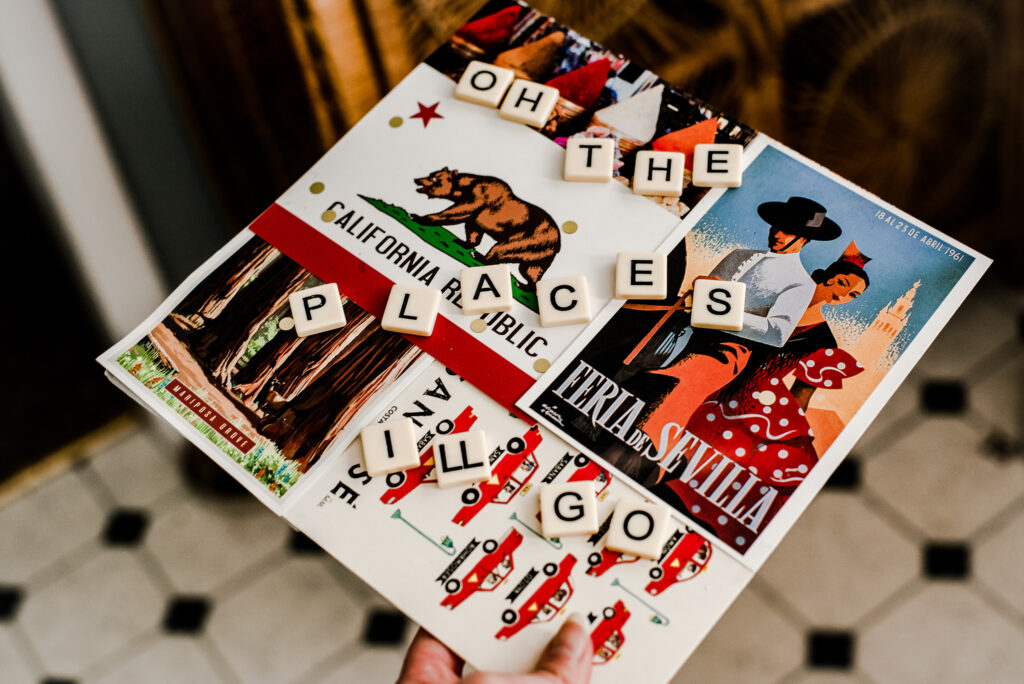
For my flatlay, I chose to use a simple, white foam presentation board – I also tried it with a sheer curtain to give it some texture, and later took it around my house to see how it looked with different backgrounds.
Step 3: Scout the perfect location for your flatlay
Find a room in your house that is bright, but avoid direct sunbeams falling onto your flatlay surface. If you think a window might be casting too much light, use wax or parchment paper (for baking) to cover the window – you’ll still get good sunlight, but it will be softer and more even.
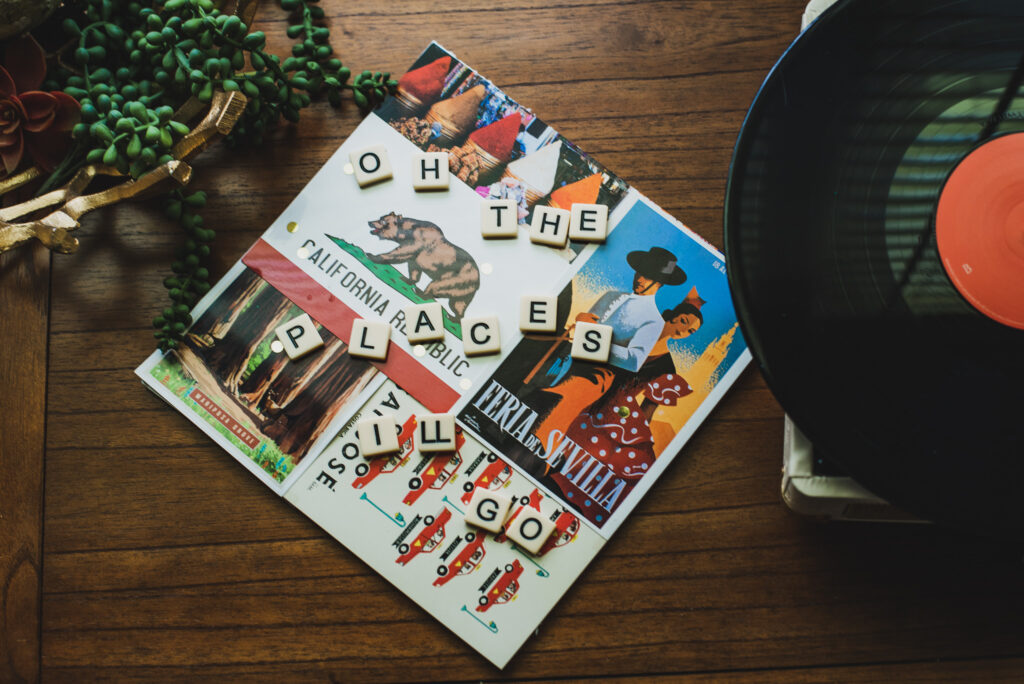
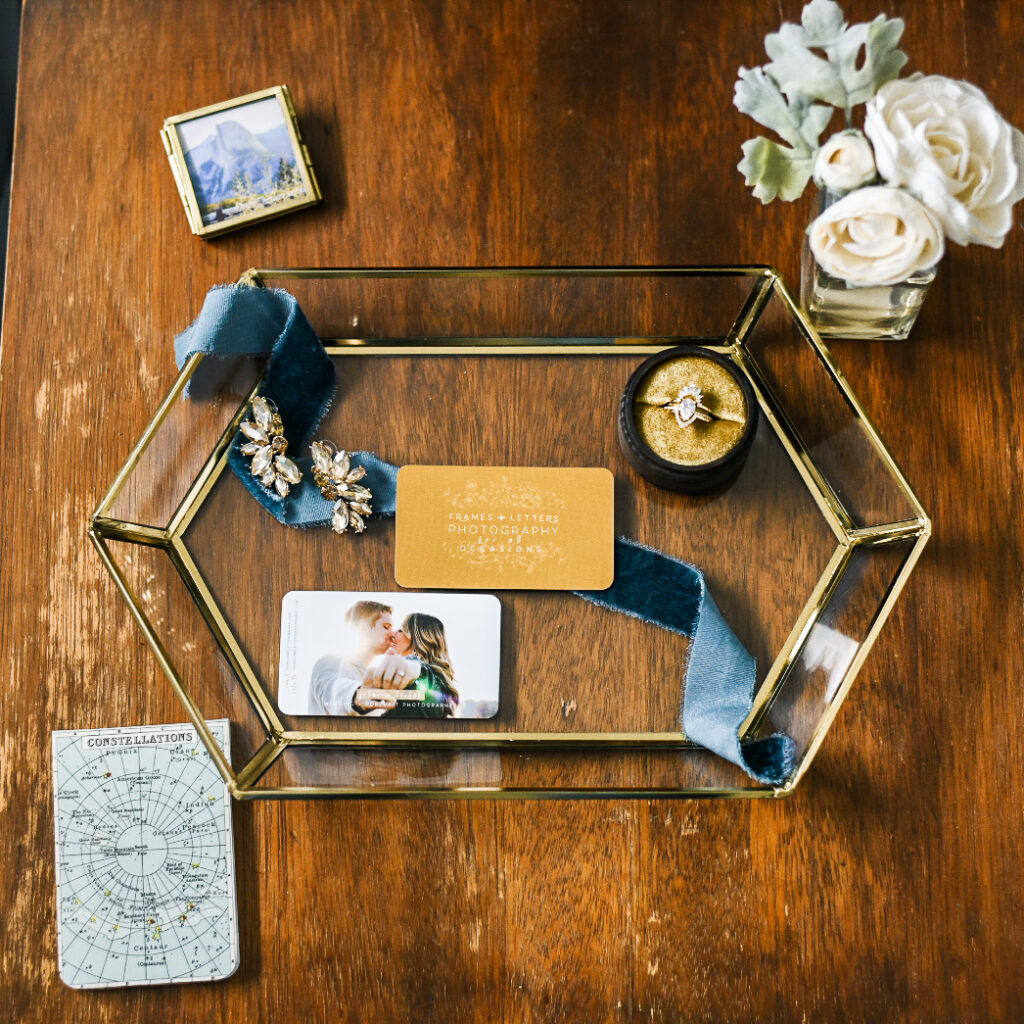
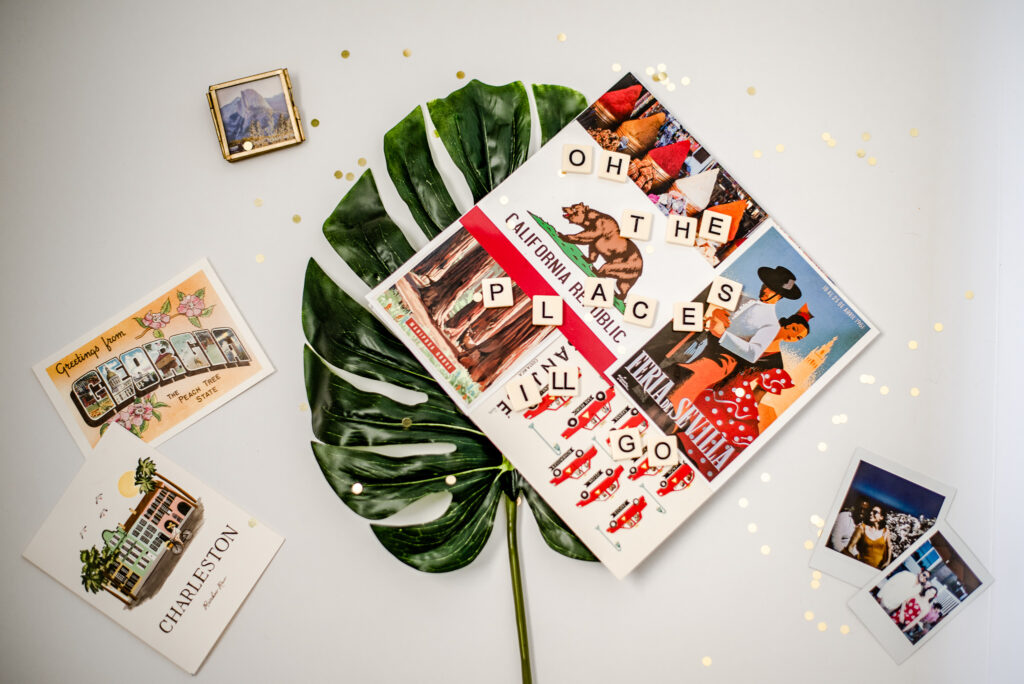
Step 4: fill your flatlay
Now that you have your cap ready, your ideal background and lighting, it’s time to make the flatlay fun – fill your flatlay with important, symbolic items that show your personality and represent the last 4 years. Hobbies, pictures, books, vinyl records, favorite jewelry, shoes, anything goes!
If your flatlay is looking a little…flat, here are some tips to make it stand out even more
- Add height: Place your cap on top of a bowl, glass, or something else to give it a little height
- Add texture: try to incorporate some 3D items, a background with texture (like a dress/blanket), etc.
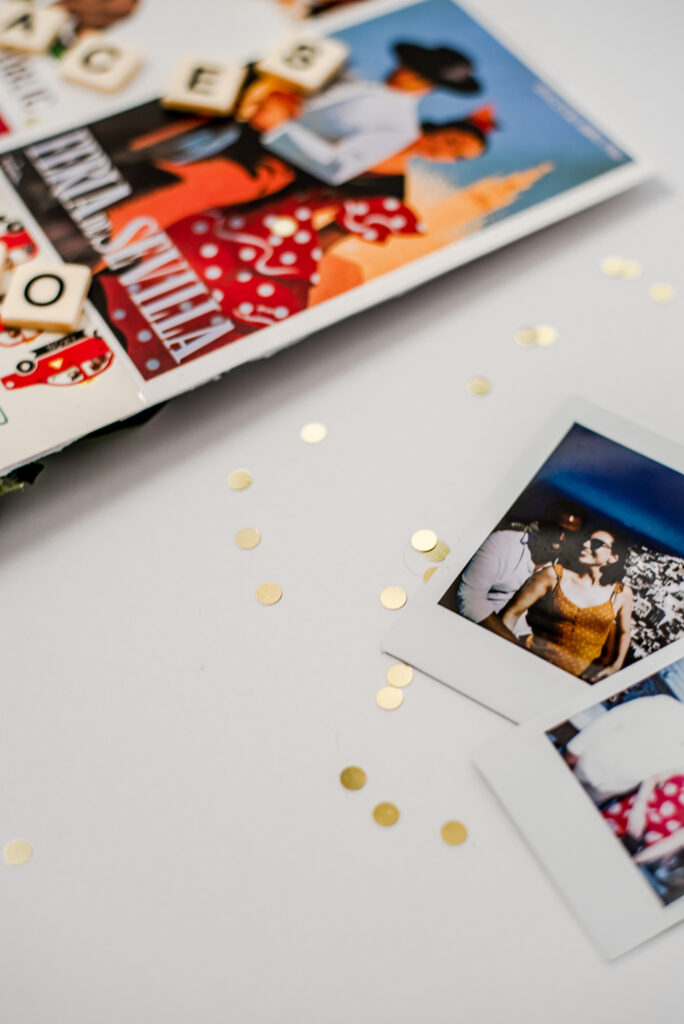
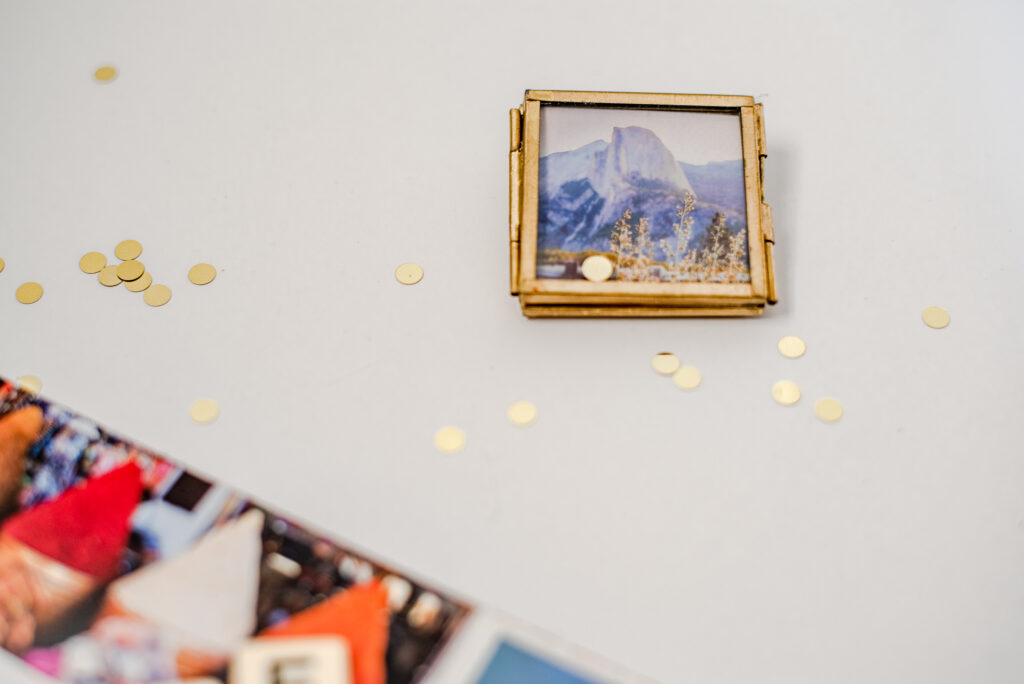
- Add confetti! This is always a fun add in 🙂 If you don’t have any confetti on-hand, take a hole punch and grab one of those mailers with all the coupons that you might normally throw out and create your own!
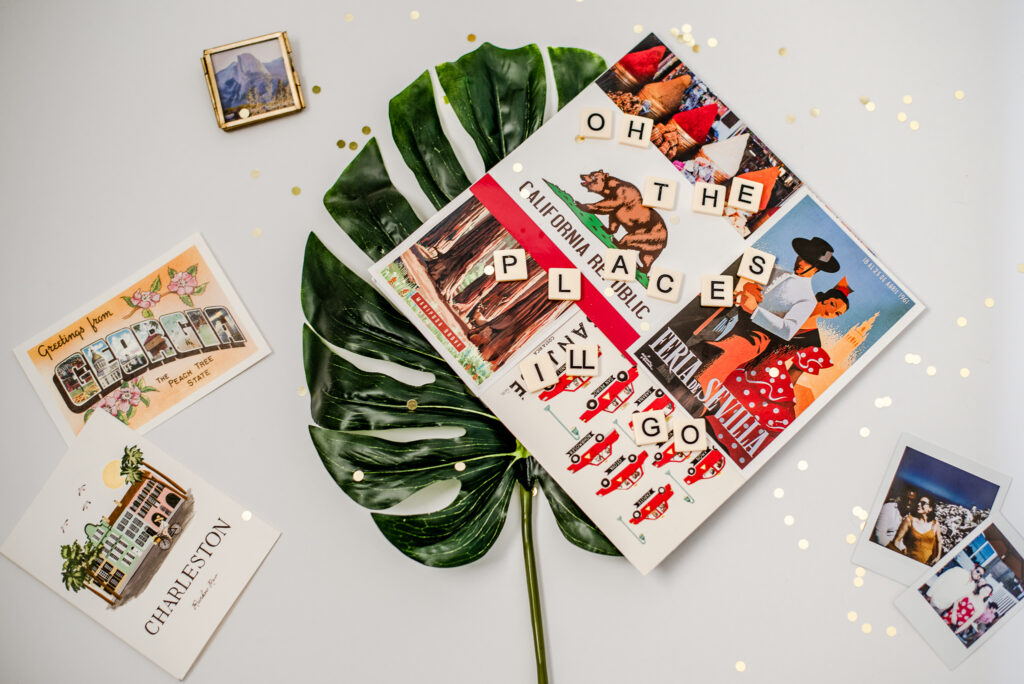
- PIVOT! Are all your items straight up and down? Starting with your cap in a diamond shape, try to randomly rotate the other items in your flatlay, play with symmetry and spacing of items, so that it doesn’t look overly posed, and also looks fun and natural.
Step 5: take the dang picture already!
I’m going to assume most people will be using a smartphone (no shame in that – they’re pretty great now!). Position yourself on the “short” end of the flatlay (top or bottom), and double check that you’re not casting any shadows in your photo. Take the picture from DIRECTLY above the flatlay area, use a chair if you need to!
I can’t wait to see your creations on Instagram @framesandlettersphotography (use the hashtag #flpseniors)! More ideas or questions? Send me a message or leave a comment below!


Be the first to comment