
Make your own cute graduation cap design for cap and gown pictures and graduation with this step by step tutorial! This is a really fun senior spring activity to do with your friends, so make a day of it and get crafting.
Before we start, check with your school to see if these are allowed – if your school allows it, then you can glue design materials directly on to the cap. This tutorial is for a detachable one, so either way, you can still use it for cap and gown pictures and then remove it later on for graduation!
Watch the video tutorial for the graduation cap design on Instagram
Supplies for your grad cap design
- Detachable design: Foam board or decorative paper that matches the color of your cap
- Scissors or box cutter to cut out your square
- Letters, markers, or other decorative elements
- Any craft supplies you like!
How to make your custom graduation cap design
Step One
Cut your foam board to 7” on each side to make a square. Measure using your grad cap if you have one to make things easier!
Step Two
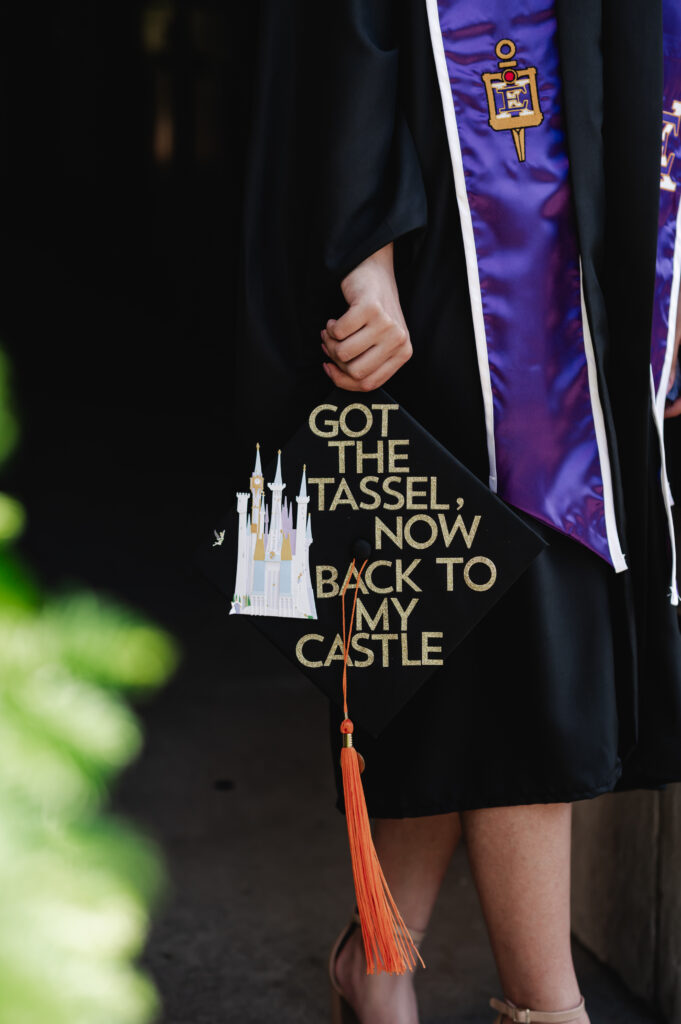
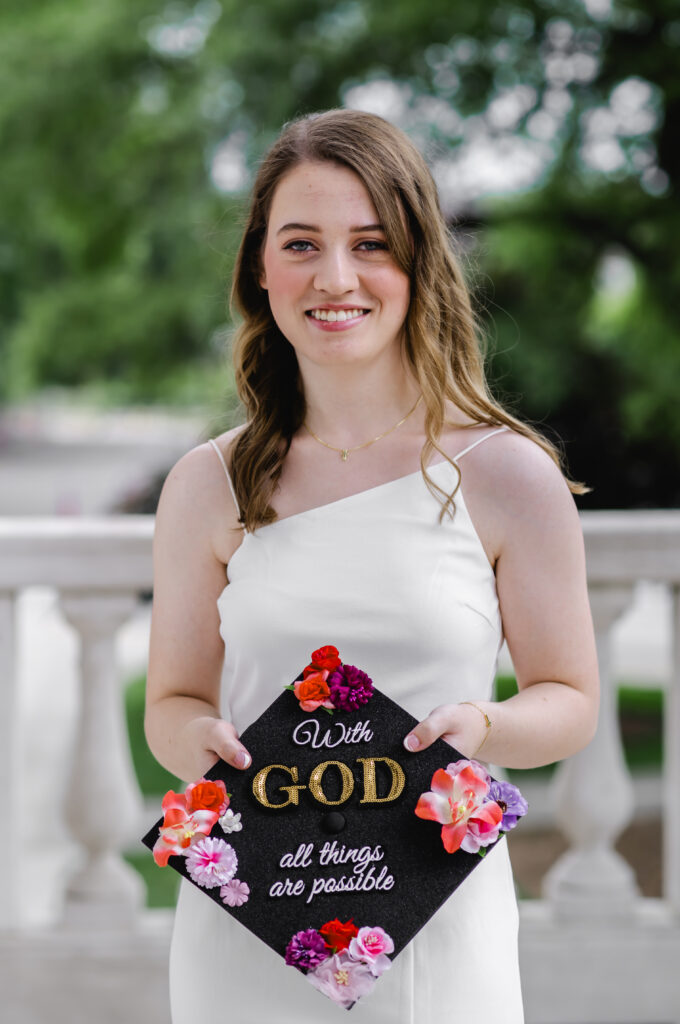
Plan creative ideas for your grad cap design – check out my Pinterest board to see creative inspiration. Pop culture references, meaningful quotes, and personalized touches always make for great designs. You can try out different design ideas before you commit to one!
Step Three
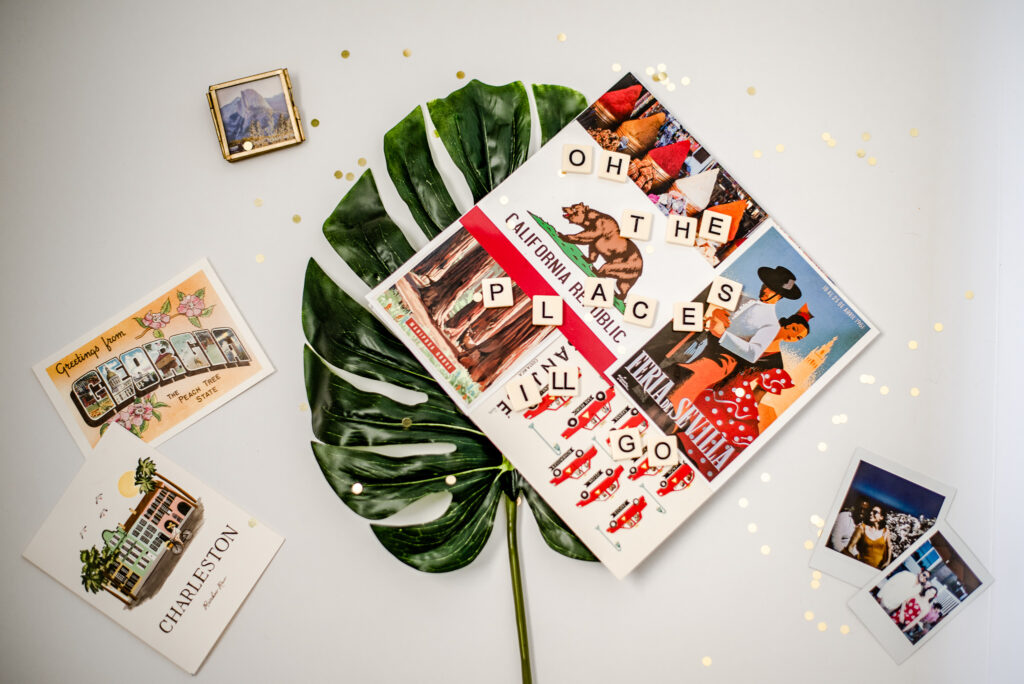
Gather your craft supplies – colorful paper, photos, letters, sequins, beads, etc. Postcards, album covers, maps, sheet music, newspapers, and photos are all great materials to work with.
Step Four
Lay out your design so you the point is the top, and arrange all the creative elements exactly how you want – don’t do any gluing just yet!
*If you are using the foam board, you either need to cut a hole for the tassel “button,” or add something in the center that the tassel can attach to.
Then, start gluing your design elements on to the foam board!
Step 5
BEFORE you glue the foam board directly onto your grad cap or glue items directly onto your cap, make sure your design is facing the correct way so that when you’re wearing it, people can read it. The inside of your cap should say “front,” so use that as a reference and try it on first before gluing it!
Lastly, use a glue gun or craft glue to secure your foam board onto your grad cap.

Voila, you have your custom graduation cap design for spring pictures and graduation! I’d love to see your design once it’s finished, tag me in your story or post on Instagram @framesandlettersphotography!
Looking for more tips for cap and gown pictures or graduation?
Check out my other blog posts…
Cap and Gown Outfit Ideas for Graduation
Everything you need to know about Cap and Gown Pictures
What to Include in your Grad Announcements, Where to Order Them and More!

Johanna Hribal is a color obsessed senior photographer for fun loving grads in Louisville, Southern Indiana or wherever you want to go!
Want to book a senior portrait session with Frames and Letters Photography? Find out more about your personalized senior portrait experience here, then fill out a contact form to get in touch.
